Moken (Xiamen) Industrial Co., Ltd.
Leave Your Message

Why Is My Toilet Tank Rubber Gasket Leaking?

A small leak around a toilet tank can leave a wet ring on the floor, a slow drip behind the bowl, or a toilet that refills when nobody has used it. The Toilet Tank Rubber Gasket seals the connection between the tank and bowl, so age, uneven tightening, or a worn surface may let water escape. The damage can look minor. It still deserves attention.

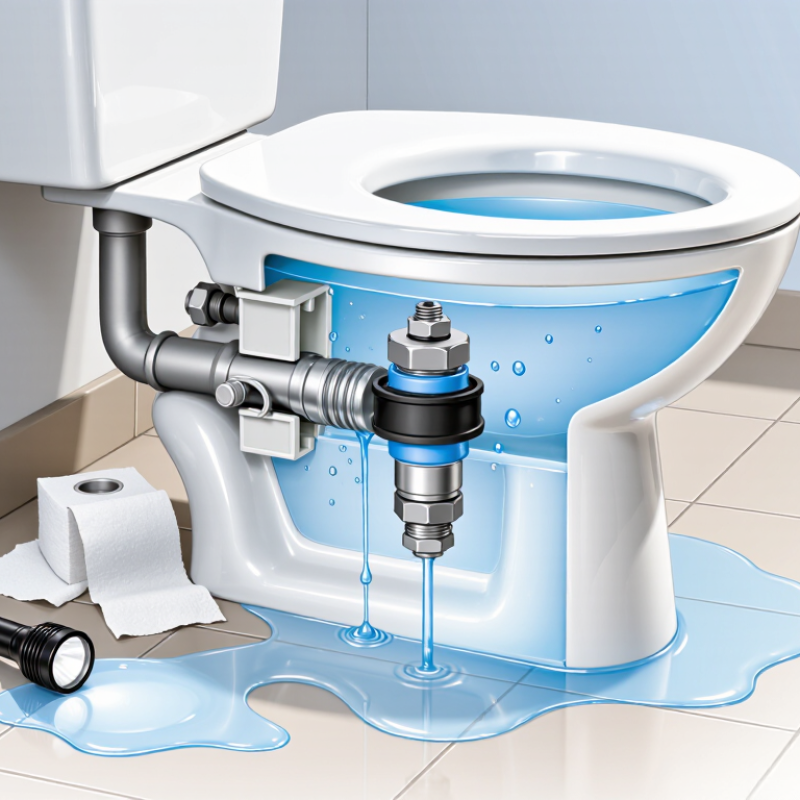
The U.S. Environmental Protection Agency’s WaterSense program reports that household leaks can waste nearly 10,000 gallons of water each year; in 10 percent of homes, leaks waste 90 gallons or more daily. These figures cover leaks broadly, not toilet gaskets alone, but they show why a recurring drip should not be dismissed. A flashlight, dry tissue, and a careful look beneath the tank can help locate fresh moisture. Do not overtighten the bolts; porcelain can crack.

A reliable expert quotation needs a verifiable source. No article or interview was supplied here, so I cannot responsibly invent a specialist’s name or words. That is a limitation worth stating. This guide will focus on practical checks: identifying gasket seepage, distinguishing it from a leaking supply line, and deciding when replacement is appropriate. EPA WaterSense guidance supports leak checks, but the gasket diagnosis still depends on what you observe at the toilet.
Why Is My Toilet Tank Rubber Gasket Leaking?

How the Tank-to-Bowl Rubber Gasket Seals a Toilet

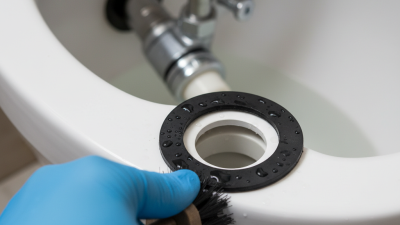
The tank-to-bowl rubber gasket sits around the large outlet beneath the toilet tank. When the tank is bolted down, the gasket compresses against the bowl and forms a watertight seal. During a flush, water passes through its center opening into the bowl. The seal should stay snug without being crushed. Too little compression can leave a path for water; too much force may crack porcelain.

A leak from this area often appears as a damp ring beneath the tank, especially after flushing. Dry the outside with a towel, then flush and watch where moisture returns. A loose bolt can contribute, but a flattened, shifted, or hardened gasket may no longer seal evenly. Small details matter. Before inspection, shut off the supply valve and empty the tank. If the tank must be lifted, support it carefully and avoid twisting it against the bowl. Porcelain can break without much warning.

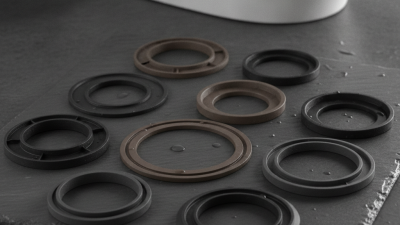
When replacing the gasket, match its shape and opening to the toilet’s connection, and center it over the bowl inlet. Tighten the tank bolts a little at a time, alternating sides so the tank settles evenly. Stop when it is stable; forcing the bolts tighter is not a reliable fix. I’d recheck for moisture after several flushes, since a seal can look fine while dry and still seep under flowing water.
How to Trace a Leak to the Gasket, Bolts, or Fill Valve

Why Is My Toilet Tank Rubber Gasket Leaking?

Water near the toilet does not automatically mean the tank gasket has failed. A leak may come from the tank bolts, the fill valve, or condensation on a cold tank. It is easy to guess too soon. Turn off the water supply, flush, and dry the tank and floor with a towel. Then watch closely.

Check the tank-to-bowl seam after flushing. A bead of water forming there often points to the large rubber gasket between the tank and bowl. If water appears around a bolt head or runs down from a bolt, inspect its washer and the bolt beneath the tank. A loose bolt can leak, but overtightening may crack porcelain. Use gentle pressure. It can feel too loose, even when it is secure.

Look at the fill valve where it passes through the tank, and at its water-supply connection. Water appearing there while the toilet refills may indicate a worn washer or loose connection. If the tank’s water level rises into the overflow tube, the issue may be inside the fill valve rather than an external gasket leak. Dry each area and check again after a few minutes; the first wet spot can be misleading. If porcelain is cracked or the leak continues after a careful adjustment, stop and get qualified help.

Why Is My Toilet Tank Rubber Gasket Leaking?

Trace visible water to the first place it appears. This chart is a troubleshooting guide, not a measure of leak frequency or probability.

How to use it: Dry the tank exterior, then flush and watch where water first appears. A wet tank-to-bowl seam points to the rubber gasket; water at a bolt points to its washer or seal; water at the fill-valve shank points to its inlet seal. Water flowing into the overflow tube while the tank fills suggests a fill-valve or water-level problem. A wet area identifies where to inspect first, but does not confirm the cause.

Why Gaskets Fail: Age, Misalignment, and Uneven Bolt Pressure

A toilet tank gasket can leak even when the rubber looks mostly intact. Over time, heat, water minerals, and repeated flushing can make it stiff or flattened. Aged rubber no longer springs back evenly against the bowl. You may see a slow drip beneath the tank, or a damp line around one bolt. Small leaks are easy to miss.

Misalignment and uneven bolt pressure can cause the same trouble. If the tank sits slightly crooked, the gasket may compress on one side and leave a narrow gap on the other. Bolts tightened too much on one side can tilt the tank or damage porcelain. More tightening is not always the answer. Turn off the water, flush, and dry the area with a towel; then check where fresh moisture appears. A flashlight helps. If the tank rocks, or the gasket is visibly distorted, drain the tank and reseat or replace the gasket. Tighten both bolts gradually, alternating sides, until the tank feels stable. Do not force them. I have found that a “snug” fit can be hard to judge, so stop if the porcelain shifts or creaks, and ask a plumber to inspect it.

Why Is My Toilet Tank Rubber Gasket Leaking? — Why Gaskets Fail: Age, Misalignment, and Uneven Bolt Pressure

Possible Cause Common Clues How to Check Practical Action
Aged or deteriorated gasket The gasket may feel stiff, flattened, cracked, or brittle. Water may seep from the tank-to-bowl connection after flushing. Turn off the water, flush to empty the tank, and inspect the gasket for loss of flexibility or visible damage. Replace it with a gasket that matches the toilet’s tank outlet and bowl connection. Clean the contact surfaces before installation.
Gasket misalignment The tank may sit crooked, or the leak may continue even though the gasket appears intact. Check whether the tank is centered over the bowl and whether the gasket sits evenly around the outlet. Reposition the gasket and tank so the parts align naturally. Do not use the bolts to pull a visibly misaligned tank into place.
Uneven or loose tank-bolt pressure Water may appear near one side of the tank connection or around a tank bolt. The tank may shift slightly when gently touched. With the tank empty, check that the tank is stable and that the bolts are tightened evenly from side to side. Tighten each bolt a little at a time, alternating sides. Stop when the tank is stable; overtightening can crack porcelain.
Worn or incorrectly fitted bolt washers Moisture is concentrated around a bolt rather than around the large tank-to-bowl opening. Dry the area and observe where fresh water first appears during a refill. Inspect the bolt washers if the leak starts at a bolt. Replace damaged washers and check that the washer order and orientation match the toilet hardware instructions.
Dirty, damaged, or uneven sealing surfaces A new or apparently sound gasket still leaks, or the leak returns soon after installation. After removing the tank, inspect the mating surfaces for debris, mineral buildup, chips, or cracks. Clean the surfaces gently and ensure they are dry and even before fitting a replacement gasket. Replace cracked components.
Leak mistaken for a tank gasket problem Water may run down from the fill valve, supply connection, tank, or flush valve and collect near the tank-to-bowl joint. Dry the tank and connections, then watch where water first appears while the tank refills and after a flush. Repair the actual leaking connection or component. Avoid replacing the tank gasket until the source is confirmed.

How to Replace the Gasket and Tighten Tank Bolts Evenly

A leaking tank-to-bowl gasket often leaves water around the bolts or a damp patch beneath the toilet after flushing. Before replacing it, dry the area and check where fresh water appears. A loose supply connection can look similar. Turn off the shutoff valve, flush, and sponge the remaining water from the tank. Disconnect the supply line, then hold each bolt steady while removing its nut. Lift the tank carefully; porcelain is heavy and can crack if it twists or strikes the bowl.

Remove the old rubber gasket and clean both contact surfaces with a soft cloth. Check for chips, mineral buildup, or a warped tank base. Fit a gasket that matches the tank outlet, centered and flat. Lower the tank onto the bowl without sliding it around. Install the washers and nuts as specified for your toilet’s bolt arrangement. Tighten each side a little at a time, alternating between bolts so the tank settles evenly. Stop when it feels stable. More force is not better; overtightening can crack porcelain, sometimes without warning.

Tips: Keep the tank level as you tighten. A small gap can remain between tank and bowl on some toilets, so do not force them together. Turn the water back on and watch the bolt heads and gasket area through several flushes. If a slow drip continues, shut off the water and recheck alignment and hardware. I have found that one extra turn can seem tempting, but it may make the repair worse.

How to Test the Repair: EPA Says Household Leaks Waste Nearly 10,000 Gallons a Year

The U.S. Environmental Protection Agency estimates that household leaks can waste nearly 10,000 gallons of water a year. A toilet tank gasket may leak only during a flush, so a dry floor between flushes does not prove the repair worked. Small drips matter.

After replacing the gasket, dry the tank-to-bowl connection with a towel. Place a fresh piece of tissue beneath the joint, then flush and watch for moisture. Look closely. A bead forming around a bolt or the center seal points to a leak that needs attention. Avoid overtightening the bolts; excessive force can crack porcelain.

Wait a little. Flush again, then check the floor and the tissue after several minutes. If water still appears, shut off the supply and inspect whether the gasket sits evenly and the tank is level. A separate dye test can help identify water leaking from the tank into the bowl, but it does not confirm an external gasket seal. It is easy to call a repair finished too soon. Check again later, especially after the next few flushes.