Essential Guide to Toilet Tank Rubber Gasket Maintenance?
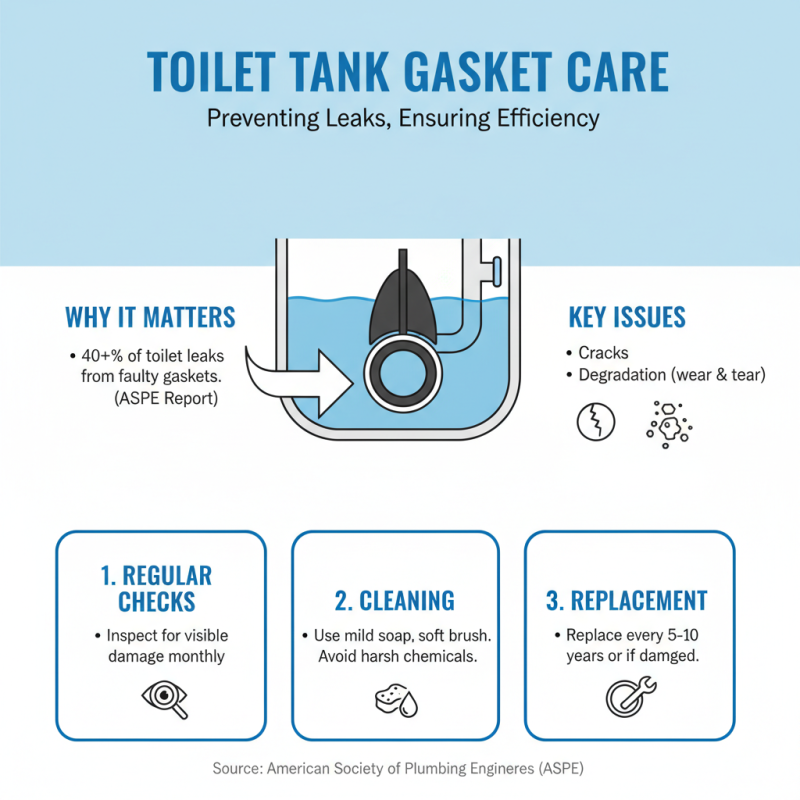
Maintaining your Toilet Tank Rubber Gasket is crucial for optimal bathroom function. A well-maintained gasket prevents leaks and water waste. According to the Environmental Protection Agency, household leaks account for nearly 1 trillion gallons of water wasted annually. This is a staggering figure, showcasing the importance of addressing leaks promptly.
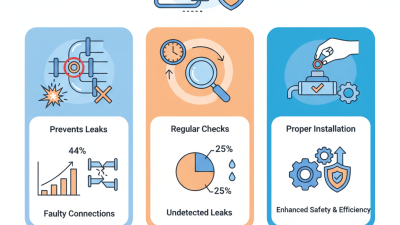
Over time, gaskets can degrade. Factors like age, water quality, and temperature fluctuations contribute to wear and tear. Inconsistent maintenance can lead to more significant issues down the road, such as water damage or mold growth. Regular inspections are simple yet vital. A small crack can escalate quickly, leading to costly repairs.
As homeowners, we often overlook minor components like the toilet tank gasket. Yet, neglecting such elements can result in bigger problems. Studies show that many homeowners are unaware of the signs of a failing gasket. Keeping an eye out for small leaks can mitigate larger issues. Being proactive not only saves water but also promotes a healthier living environment.
Understanding the Function of Toilet Tank Rubber Gaskets
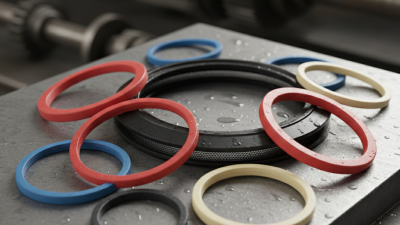
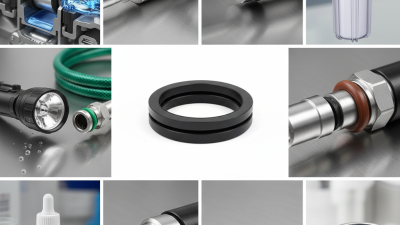
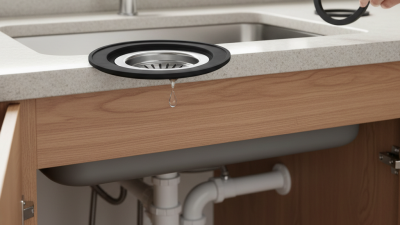
A toilet tank rubber gasket plays a crucial role in your bathroom's functionality. It forms a seal between the tank and the bowl. A good gasket prevents leaks, keeping your bathroom dry. When the gasket wears out, issues arise. You might notice water pooling on the floor. This simple part is often overlooked. Yet, it can lead to larger problems if ignored.
Understanding how the gasket functions is vital. Its main task is to create a watertight barrier. If it's cracked or hard, water seeps out. A well-maintained gasket is soft and pliable. A damaged one can lead to constant flushing, wasting water and money. Replacing a worn gasket can be a straightforward task. But many homeowners hesitate, fearing complexity.
Water leaks can increase your utility bills. Ignoring a faulty gasket only exacerbates the issue. Regular inspection is key. Even if the toilet seems fine, check the gasket periodically. Look for signs of wear, such as discoloration. Don't wait until a problem becomes severe. Taking action early can save you trouble down the road.
Essential Guide to Toilet Tank Rubber Gasket Maintenance
| Dimension |
Description |
Maintenance Tips |
Lifespan |
| Size |
Typical gaskets range from 1.5 to 3 inches |
Regularly check for wear and tear, replace if damaged |
5-10 years depending on usage |
| Material |
Commonly made from rubber or silicone |
Clean with mild soap, avoid harsh chemicals |
Varies by material; silicone lasts longer |
| Function |
Seals the connection between the tank and bowl |
Ensure a tight seal by tightening bolts |
Maintenance can extend lifespan |
| Signs of Wear |
Leaks, cracks, or abnormal noises during flush |
Inspect regularly and replace as needed |
Forage visual checks every 12 months |
Common Signs of Wear and Tear in Rubber Gaskets
When it comes to toilet tank maintenance, rubber gaskets play a crucial role. These gaskets ensure a proper seal, preventing leaks. Over time, wear and tear can compromise this seal. One common sign of damage is the presence of water pooling around the base of the toilet. If you notice this, it might be time to inspect the gaskets.
Another indicator of a worn gasket is a hissing sound when the toilet fills. This noise usually means air is escaping. You might also experience fluctuating water levels in the tank. If the water runs continuously, the gaskets may not be sealing correctly. A visual inspection is often helpful. Look for cracks, discoloration, or signs of deterioration. An old, cracked gasket will not perform adequately.
Ignoring these symptoms can lead to bigger issues. Water damage could develop if leaks persist. Replacing gaskets is a straightforward solution. It can significantly improve your toilet's performance. Ensuring your gaskets are in good condition saves both water and money over time. Regular checks can prevent unexpected problems down the line.
Step-by-Step Guide to Inspecting Rubber Gaskets
Inspecting rubber gaskets on your toilet tank is vital. These gaskets ensure a tight seal, preventing leaks. A recent industry study highlights that approximately 20% of homes experience toilet leaks. Regular inspection can save you water and money.
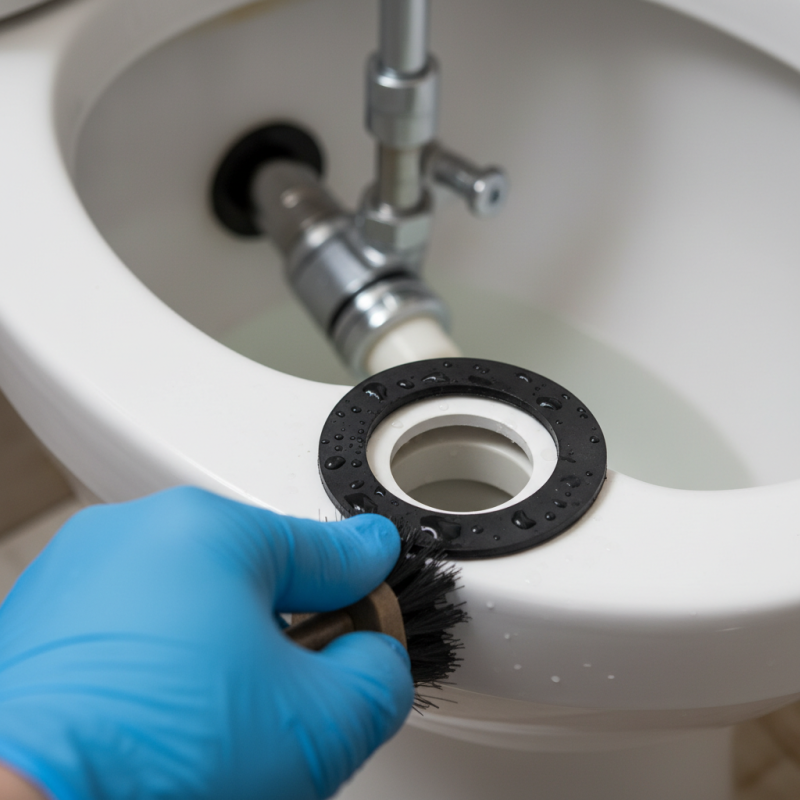
Begin by checking for any visible wear. Look for cracks or discoloration. These are signs your gasket needs attention. Remove the tank lid and observe closely. A simple visual inspection can reveal potential issues. If the gasket feels brittle, it’s time to replace it.
During inspections, also check the tank bolts. Tighten them if they are loose. A secure connection is crucial for gasket performance. Many homeowners overlook this detail. Ensure there’s no corrosion. Corroded bolts can lead to leaks, wasting water. Investing a few minutes in gasket maintenance can prevent future headaches.
Essential Guide to Toilet Tank Rubber Gasket Maintenance
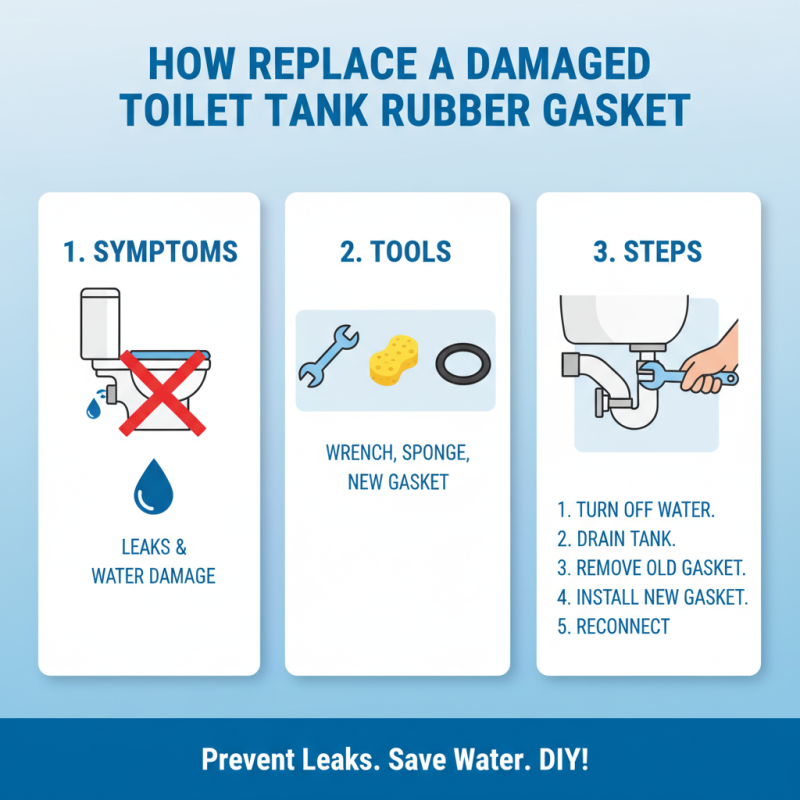
How to Replace a Damaged Toilet Tank Rubber Gasket
Replacing a damaged toilet tank rubber gasket is a crucial task for any homeowner. A worn gasket can lead to leaks, which might cause water damage. Before starting, you’ll need a few simple tools: a wrench, a sponge, and a replacement gasket. It is essential to ensure you have everything on hand. Running back and forth can waste time and energy.
Begin by turning off the water supply to the toilet. Next, flush the toilet to empty the tank. There might be a little water left. Use a sponge to soak it up. Carefully remove the tank bolts with your wrench. This step can be tricky, especially if they're rusted. Be patient; forcing them can lead to breaks. Once loose, lift the tank off gently.
Now, take out the old gasket. Inspect the mounting surface for any residual debris. It's easy to miss details here. Place the new gasket in the same position. Reattach the tank, ensuring it sits evenly. Tighten the bolts just enough—don't overdo it. Once secured, turn the water supply back on. Check for leaks. If all is well, you’ve done your part. If not, reflect on the process and adjust as needed. Always be ready for unexpected challenges.